Custom Export Setting for Videos On CapCut Pro APK Easily
In the rapidly evolving landscape of digital content creation, the ability to produce high-quality video content directly from a smartphone or desktop application is paramount. As we move through 2026, video editing standards have shifted significantly towards higher resolutions and smoother frame rates. Creators are no longer satisfied with standard 1080p exports; the demand for 4K resolution, high dynamic range (HDR), and optimized bitrates is the new norm. CapCut, developed by ByteDance, remains a frontrunner in this industry, bridging the gap between amateur editing and professional post-production.
However, achieving professional-grade quality requires more than just good editing skills; it necessitates a deep understanding of export settings. Many users struggle with compression artifacts, dropped frames, or unexpected resolution changes upon saving their projects. Mastering the custom export settings is essential for maintaining the visual fidelity of your footage. This comprehensive guide will explore how to configure these settings effectively, ensuring your content stands out on any platform.
Why CapCut Changes Resolution Automatically?
One of the most frequent frustrations for editors is discovering that their exported video has a lower resolution than their original source footage. Understanding why CapCut might automatically alter these settings is the first step toward preventing it. Primarily, this behavior is a safeguard implemented by the software to ensure playback stability and export success on a wide range of devices.
CapCut utilizes an adaptive mechanism that assesses the hardware capabilities of your device. If your smartphone or computer lacks the processing power (CPU and GPU) or sufficient RAM to render complex effects at 4K resolution, the application may default to 1080p or 720p to prevent crashing. This is particularly common when projects are heavy with multi-layer overlays, intensive transitions, or 3D effects.
Furthermore, the software often defaults to the resolution of the project timeline rather than the source clip. If you import a 4K clip into a project that was initialized with 1080p settings, the export will likely default to 1080p unless manually overridden. Additionally, bandwidth compression is a factor; to facilitate faster sharing on social media, the app may prioritize file size over absolute quality, applying aggressive compression algorithms that reduce resolution and bitrate.
Things To Check Before Exporting Custom Resolution Video
Before diving into the export menu, several pre-requisites must be verified to ensure the custom settings you apply will actually result in a high-quality file. Neglecting these checks can lead to render errors or a final product that does not meet expectations.
1. Source Footage Quality
You cannot export quality that does not exist. Upscaling 720p footage to 4K will not add detail; it will simply increase file size and potentially introduce pixelation. Ensure your raw clips are shot at the resolution you intend to export.
2. Available Storage Space
High-resolution exports with high bitrates result in large file sizes. A 1-minute 4K video at 60fps can easily exceed 500MB depending on the codec. Ensure your device has at least double the expected file size in free space to accommodate temporary render files.
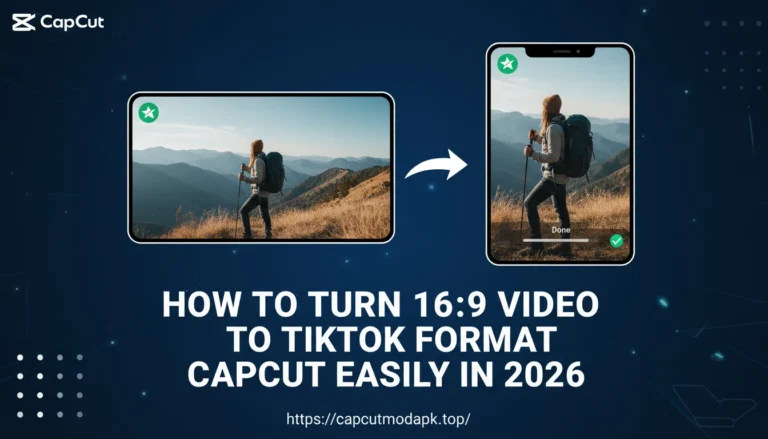
3. Project Aspect Ratio
Confirm that your project canvas matches your desired output. Exporting a 9:16 vertical video as a 16:9 landscape file will result in black bars or severe cropping.
4. Device Thermal State
Rendering high-resolution video is resource-intensive. If your device is overheating, the processor will throttle, which can cause glitches in the export. It is advisable to close background apps and allow the device to cool before exporting.
How To Export My Custom Resolution Video On CapCut for Android?
Android devices vary wildly in terms of hardware specifications, but the CapCut interface remains relatively consistent. To take control of your output, you need to move beyond the “Quick Export” button and delve into the customization menu. This is often where users look for the Cap Cut Pro APK features that unlock higher bitrates and specific codec options.
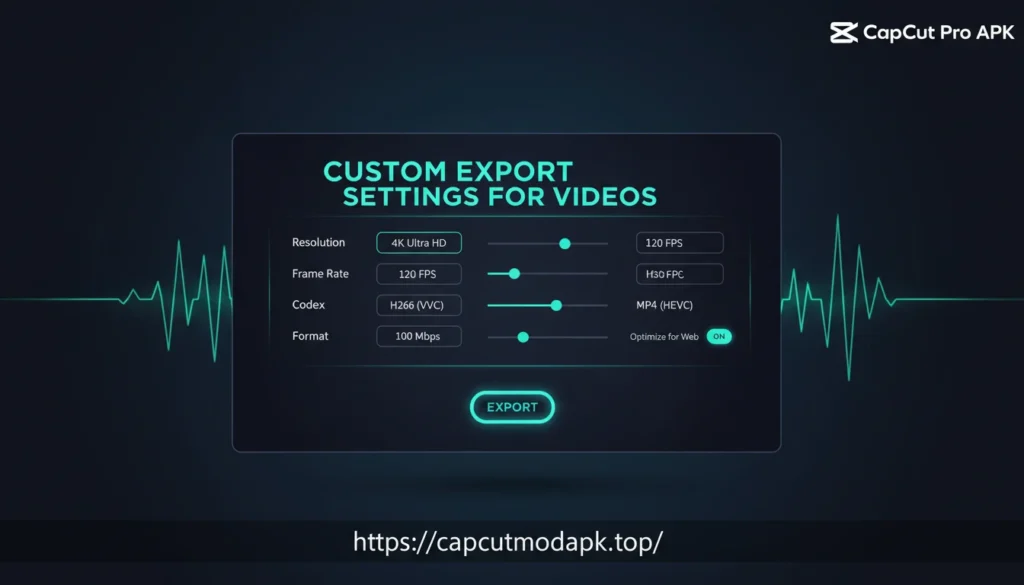
First, complete your editing on the timeline. Once satisfied, look for the resolution dropdown menu located at the top right corner of the screen (usually labeled 1080p or 720p). Tapping this reveals the export sliders. Here, you can manually adjust the Resolution to 2K or 4K. Next, adjust the Frame Rate. For cinematic looks, choose 24fps; for standard social media, 30fps is standard; and for smooth motion or gaming content, 60fps is ideal.
Crucially, pay attention to the “Code Rate” (Bitrate) setting. CapCut often sets this to “Recommended.” For custom high-quality exports, switch this to “High” or “Customized.” Increasing the bitrate reduces compression artifacts but increases file size. Finally, enable “Smart HDR” if your source footage supports it and you want richer colors. Once these parameters are set, tap the arrow icon to begin the export process. Do not lock your screen or switch apps during this process to avoid corruption.
How To Export My Custom Resolution Video On CapCut for iOS?
The process on iOS is similar to Android but tends to be more optimized due to the standardized hardware of iPhones and iPads. However, iOS users often deal with specific file formats like HEVC (High Efficiency Video Coding) which requires careful handling during export to ensure compatibility.
To export with custom settings on iOS, navigate to the top right of the editor interface. Tap the resolution quality pill. You will see sliders for Resolution and Frame Rate. Slide the Resolution to 4K if your source material allows. Set your Frame Rate to match your source video to avoid “ghosting” frames. For example, if you shot in 60fps, export in 60fps.
One distinct feature on iOS is the “Smart Stabilization” toggle that sometimes appears in export settings depending on the version. Ensure this is configured correctly as it can crop the video slightly. Additionally, iOS users should check the “Format” option. Choose MP4 for maximum compatibility or MOV if you intend to continue editing on a Mac. If you are utilizing the CapCut Pro APK custom export setting workflow, ensure that your device has permissions enabled to save large files to the Photos app.
How To Export My Custom Resolution Video On CapCut for PC?
The desktop version of CapCut offers a more granular control panel for exports, resembling professional software like Premiere Pro. This is ideal for users who need to manage specific codecs and color spaces.
Upon clicking the “Export” button in the top right corner, a floating window appears. Unlike the mobile versions, CapCut for PC allows you to export just the audio or specifically the video. Under the “Video Export” section, you can select your Resolution (up to 4K) and Bitrate. The PC version allows you to select distinct bitrate strategies: CBR (Constant Bitrate) or VBR (Variable Bitrate). For the highest consistent quality, a high CBR is recommended.
You can also select the Codec: H.264 is standard for web compatibility, while HEVC (H.265) offers better compression for high-resolution files. You can also toggle “Remove Watermark” if you are logged in. The PC version also provides an estimate of the file size before you export, allowing you to adjust the bitrate slider to meet specific upload requirements.
Using CapCut Pro for Custom Resolution Export
While the free version of CapCut is robust, the Pro subscription unlocks capabilities that are essential for high-end content creation. One of the significant advantages of CapCut Pro APK is the ability to export in higher definitions without watermarks and with access to premium color grading tools that affect the final render.
In the Pro version, the export algorithm is often faster due to cloud-rendering capabilities and optimized GPU acceleration. Pro users also get access to “GIF” export customization, allowing for high-frame-rate GIFs, which is not possible in the standard version. Furthermore, the Pro version supports exporting projects with “Smart HDR” conversion, which intelligently upscales standard dynamic range footage to high dynamic range, providing deeper blacks and brighter whites on compatible displays.
Another critical feature for Pro users is the ability to save “Custom Presets.” If you frequently produce content for different clients or platforms, you can save your export configurations (e.g., “YouTube 4K” vs. “Instagram Reels 1080p”) to save time. This ensures consistency across all your videos.
Does CapCut Mod or APK Affect Custom Resolution Export?
In the quest for premium features without subscription costs, many users turn to modified versions of the application. However, the question arises: does a modified CapCut Pro APK actually deliver the same export quality? The answer is nuanced. While these versions often unlock the UI elements for 4K export and high bitrates, the underlying stability can be compromised.
Official versions of CapCut rely on server-side validation for certain rendering effects. A modified APK might bypass the payment gateway, but it cannot always replicate the cloud-processing efficiency of the legitimate Pro version. This can lead to export failures at 99%, or files that claim to be 4K but are actually upscaled 1080p due to broken encoders within the mod.
Security is another major concern. Modified APKs can inject malicious code into the exported video metadata or the device itself. Furthermore, using a Cap Cut Pro APK from an unofficial source may result in account bans or loss of projects if the app is forced to update. Professional editors generally advise sticking to the official version to guarantee that the custom export settings function exactly as the developers intended, ensuring the integrity of the video file.
CapCut Old Version vs Latest Version for Custom Export
The evolution of CapCut has been rapid. Comparing the older versions to the 2026 iteration reveals massive strides in export customization. Older versions were often limited to 1080p and 30fps, with no control over bitrate.
Below is a comparison of the export capabilities:
| Feature | Old Version (2022-2023) | Latest Version (2026) |
|---|---|---|
| Max Resolution | 1080p / 2K (limited) | 4K (Ultra HD) |
| Frame Rate | 30fps / 60fps | 24fps, 25fps, 30fps, 50fps, 60fps |
| Bitrate Control | None (Auto) | Low, Recommended, High, Customized |
| Codec Support | H.264 only | H.264, HEVC (H.265), ProRes (iOS) |
| HDR Export | Not Supported | Smart HDR & Color Space Selection |
| GIF Export | Standard Quality | Custom Resolution & Frame Rate |
The latest version clearly offers superior control, essential for modern creators who need to tailor their content for specific viewing experiences, from mobile screens to large television displays.
What are the best settings for social media?
Understanding the technical settings is one thing; applying them to specific platforms is another. Each social media platform compresses video differently. If you upload a file with a bitrate that is too high, the platform’s compression algorithm will crush the quality, often resulting in a worse image than if you had uploaded a lower bitrate file to begin with.
TikTok and Instagram Reels:
For these vertical formats, the sweet spot is 1080p resolution at 30fps or 60fps. While CapCut supports 4K, Instagram often compresses 4K heavily. A bitrate of roughly 15-20 Mbps is ideal. Using the codec H.264 is safer for compatibility, although H.265 is becoming more accepted.
YouTube:
YouTube is the place for your 4K exports. Set Resolution to 4K (even if source is 1080p, upscaling can trigger YouTube’s better VP9 codec), Frame Rate to 24fps or 60fps, and Bitrate to “High” or customized to around 45-60 Mbps. This ensures the highest fidelity retention.
Facebook:
Facebook video quality can be inconsistent. Stick to 1080p, 30fps, and a moderate bitrate. High motion videos suffer on Facebook, so using the “Smart Stabilization” in CapCut before export can help maintain perceived quality. For more resources, you can visit capcutmodapk.top to learn about the latest updates regarding social media optimization.
Conclusion
Mastering the export settings in CapCut is the final, crucial step in the video creation process. By moving away from default settings and understanding the interplay between resolution, frame rate, and bitrate, you can significantly elevate the production value of your content. Whether you are using the standard version or exploring the advanced features of the Cap Cut Pro APK, the goal remains the same: delivering crisp, smooth, and professional video to your audience.
In 2026, the tools for high-end video production are in your pocket. Remember to check your source footage, manage your storage, and tailor your export settings to the specific platform you are targeting. With this knowledge, you are equipped to produce videos that look as professional as they feel.